I have a secret. My favorite breakfast does not include eggs. It does not include toast, or bagels, or even – dare I say it – bacon. My favorite breakfast is, hands-down, cold pizza. And not fancy pizza. In fact, the cheaper the better. It’s not even that I like pizza so much or anything, although I make a mean homemade one: Exhibit A:
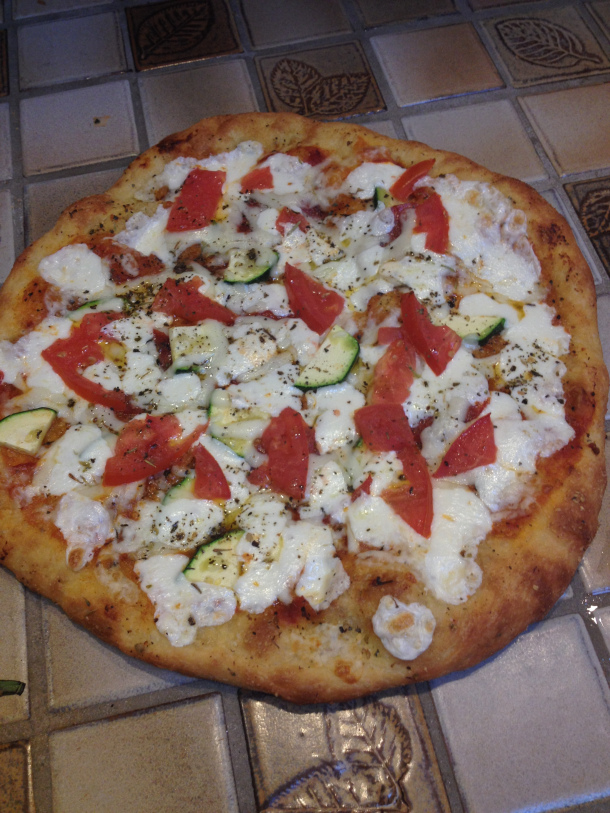
I honestly just want some chilly cheap pizza with my coffee in the morning! But I am Mrs. Breakfast with Nick. It was only a matter of time before I was forced to reconcile my pizza-breakfast ways into an actual Breakfast Pizza. We have had some great ones in the past – Due Amici and Natalie’s Coal-Fired Pizza, for instance.
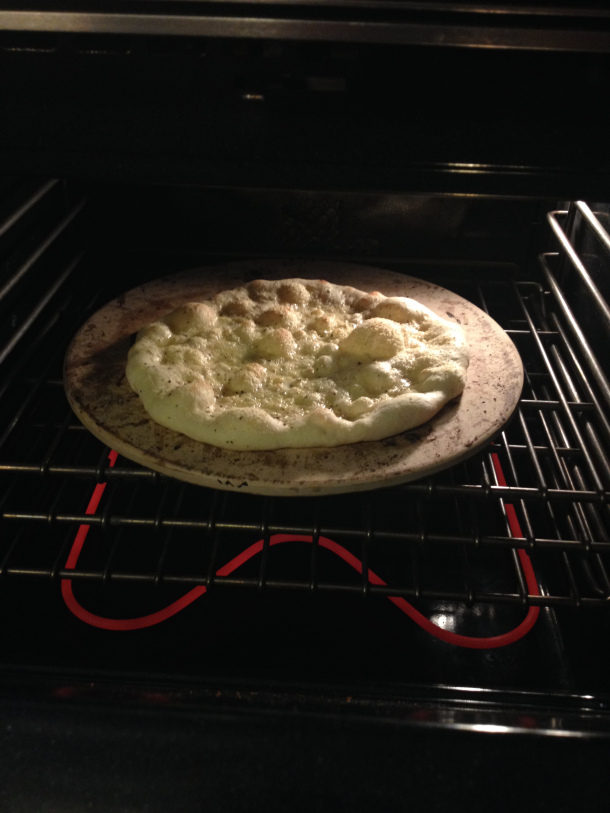
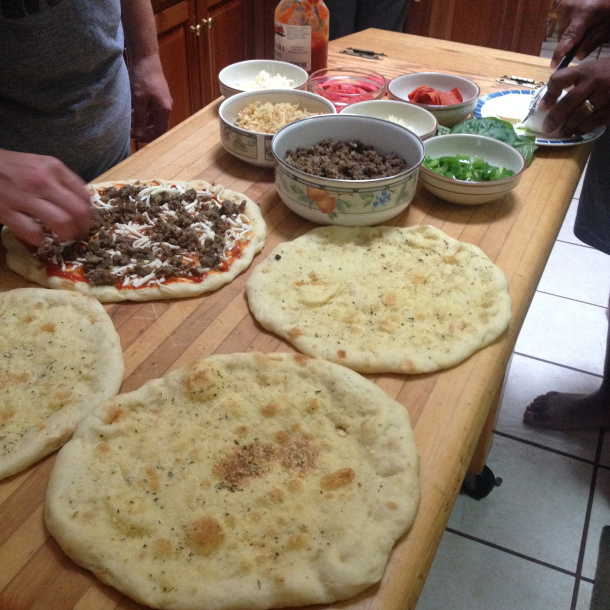
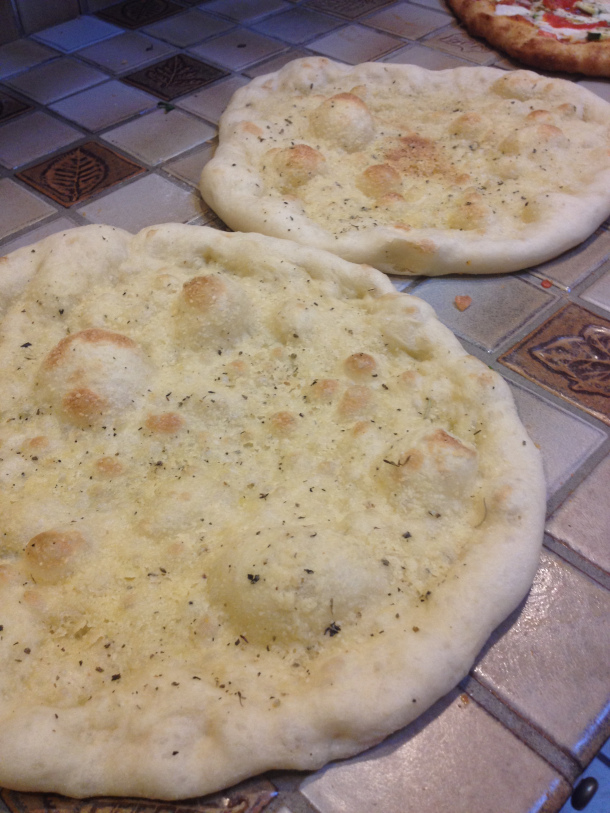
I started with my dough (recipe courtesy Dave Scarpetti of WeberCam. Thanks again, Dave!) the night before and made a few naked pizzas. I love doing this when we’re doing a make-your-own night and the oven is at a screaming 475 – we just make extra dough, and par-bake a few with simple olive oil and cracked sea salt. These work great for an easy meal later – breadsticks, steak wedges (do people have these outside of PA?), or a quick and easy pizza later in the week.
We had a few of the crusts made up already, at room temp, and fired up the oven again to get it to about 400 degrees (no need for higher, the dough is already baked).
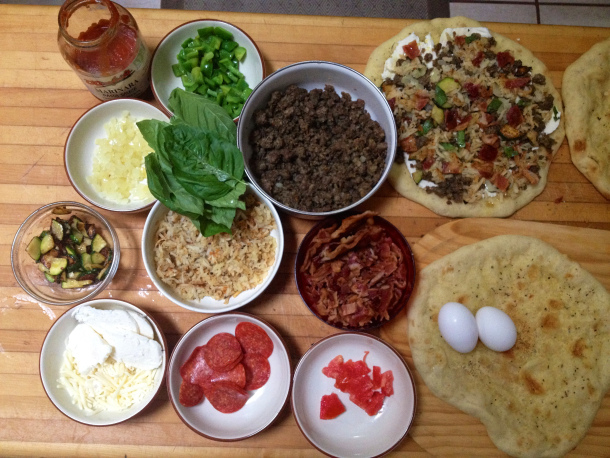
Then, the toppings. I’ll admit, we went a little nuts. (In our defense, a lot of these items were from cooking we had been doing all week as a family, so it was a bit about cleaning-out-the-fridge too.) Spiraling out from the middle: pre-cooked hashbrowns, fresh basil, sautéed onions, marinara, sautéed peppers, browned sausage, cooked bacon, eggs, tomatoes, pepperoni, fresh mozzarella, aged mozzarella, and sautéed zucchini. Just note that you will want things mostly cooked – the time the pizza spends in the oven isn’t long enough to cook meat or soften veggies.
I don’t have many life-changing secrets to applying ingredients, except:
1. Go. Light. On. The. Sauce. I know you want to glob it on – it’s the most fun part. But hold back, because it will get soggy.
2. Don’t put the basil in the oven, wait until it comes out or it will turn black.
3. Finish with cheese. It will hold everything together after you bake and cut it.
I usually start with a little bit of sauce, and then a thin layer of cheese. If I’m using meat, I’ll put that on next (so it doesn’t dry out on the very top), and then veggies followed by another layer of cheese.
What’s that? You can’t have breakfast pizza without eggs? I agree!!! But we wanted to know what would work best for cooking them on the pizza – do we crack them right on or fry them before? We tried to crack them and bake them, with mixed results.
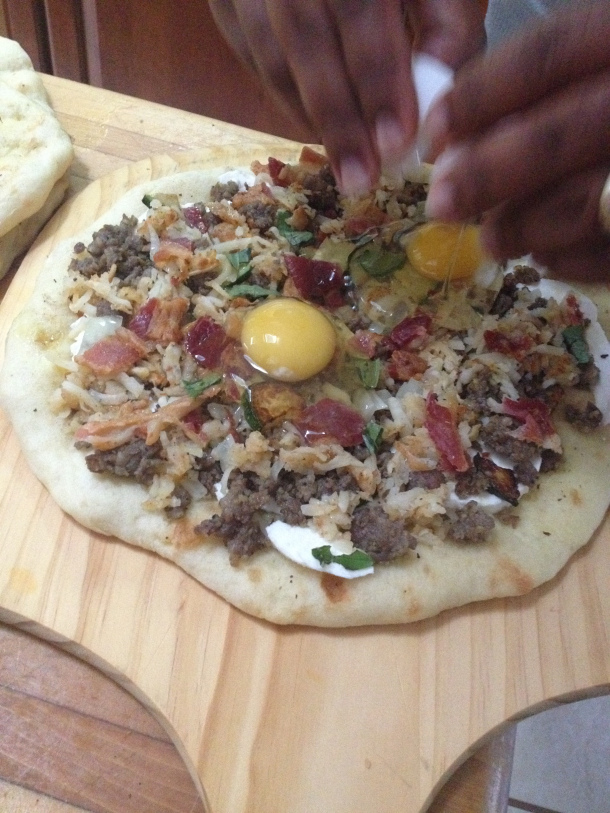
8-10 minutes was just about the right time for the toppings to be heated all through and the cheese melty, but it took about 12 minutes to cook them through with semi-soft yolks, but the other toppings got a bit too crispy. (Delicious, but crispy.)
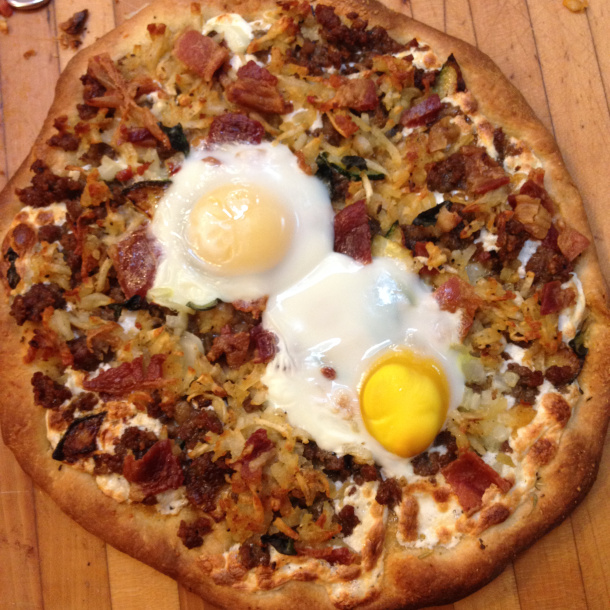
Then, we tried frying the eggs perfectly sunny-side up, and putting them on top – it was exactly what they needed. The yolks were deliciously runny with perfectly cooked whites.
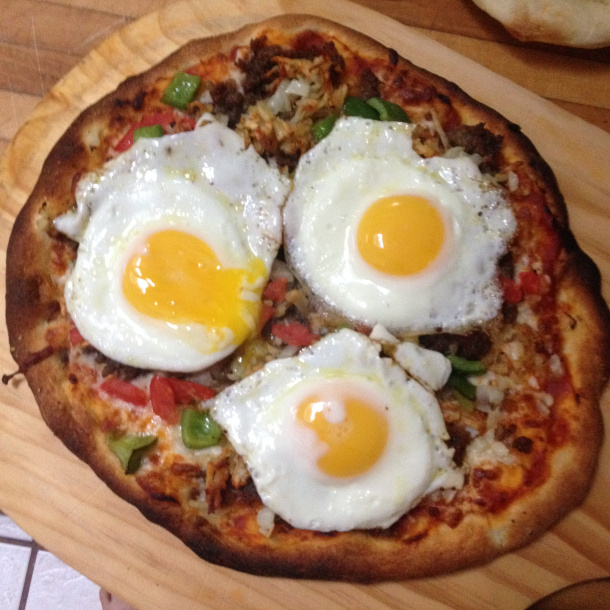
These pizzas were a great way to feed a crowd at breakfast, and do it quickly. It was a lot of fun, perfect for kids to get involved, and the prep ahead of time was well worth it.
Pizza Dough
Preheat oven to 500 degrees, and place your flat pizza stone in the oven to heat.
300g water
36g olive oil
20g honey
250g flour
10g salt
10g yeast
Stir ingredients together until combined and leave in plastic bowl covered with a damp cloth or saran wrap – wait for about an hour or so until the dough doubles in size. (OR put all ingredients into a bread machine on the “dough” setting.) Dump out onto a floured surface, punch down, divide into two balls and round dough by folding it underneath itself. Let it rest for 5 minutes, and squash dough into a 6″ disk. Cover it with a bowl or a damp towel and let it rest for 30 minutes.
Roll out the disc to about a 14″ circle (depending on your chosen thickness), place on a floured wooden pizza peal and cover each while they rest for about 20 minutes. Sprinkle the dough with olive oil, cracked sea salt and transfer the pizza to the oven using the peal. Par-bake the crust for 6-8 minutes. (At this point, you can bag or cover the par-baked crusts to save for future pizzas. They freeze well when fully sealed. Treat them as you would any bread on the counter.
Pull out of the oven, add the toppings however you’d like, return to oven for another 5-6 minutes. Enjoy!

